


In this blog, I will explained you how to build your own quadcopter using Arduino Uno.

Components Required
1. Arduino Uno
2. Quadcopter Frame typeX
3. Flysky Receiver
4. 6 Channel Transmitter
5. 4 ESC 30A
6. MPU6050
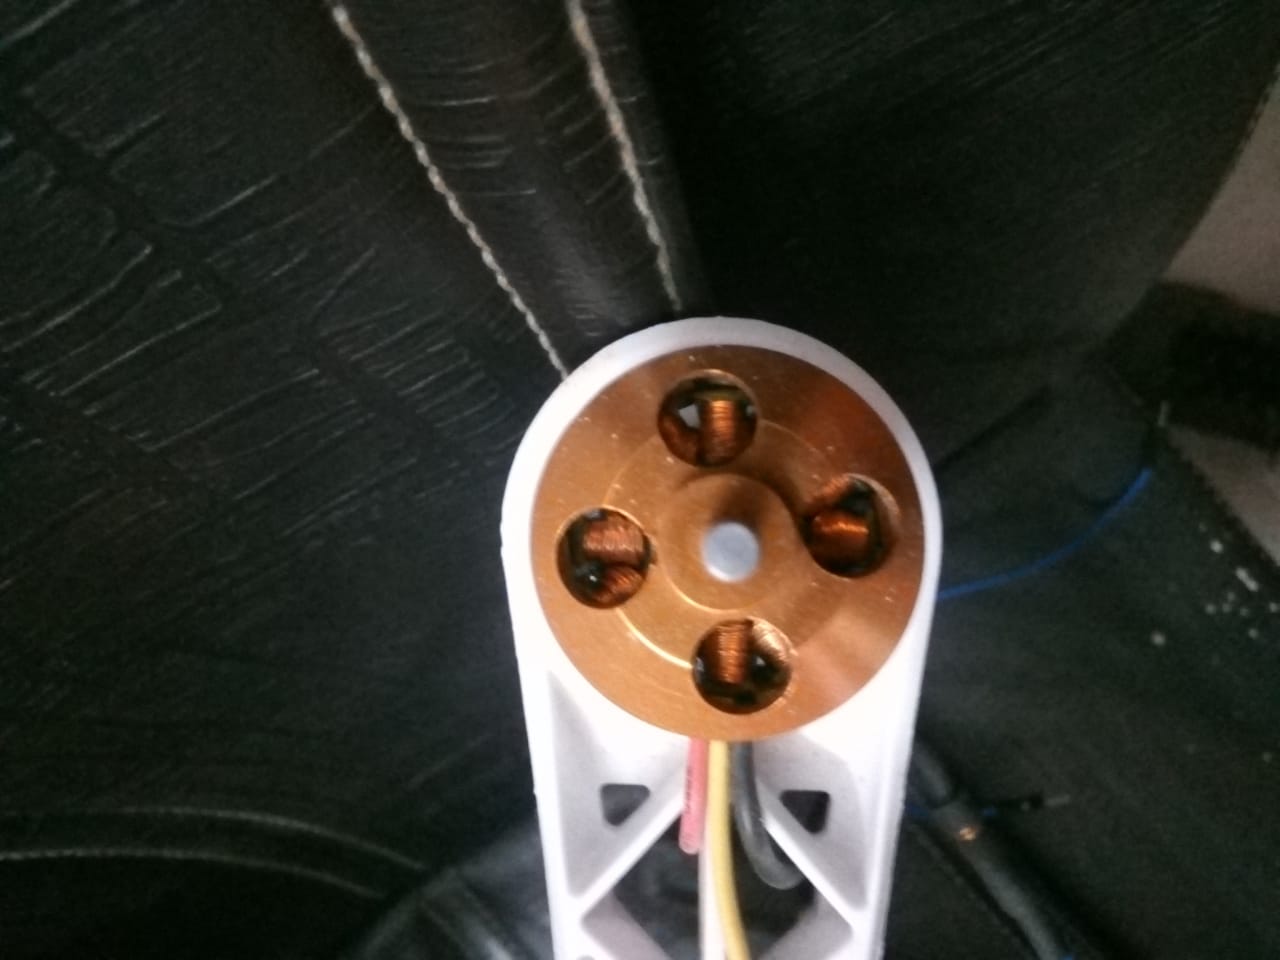
7. 4 Brushless DC Motor
About Quadcopter
Quadcopters generally use two pairs of identical fixed pitched propellers; two clockwise (CW) and two counterclockwise (CCW). These use independent variation of the speed of each rotor to achieve control. By changing the speed of each rotor it is possible to specifically generate a desired total thrust.Each rotor produces a thrust and a torque about its center of rotation and these forces are used to fly and move quadcopter. Two rotors mounted on opposite arms of quadcopter are set into clockwise and another two anticlockwise direction of motion. These position of motors and their direction of rotation cancels all the torque generated given the speed of the motors are same.
Circuit Diagram
 |
| Design by Aman Jaiswal |
Why Arduino as a flight controller ?
There are lots of flight controller available in Market like
1.Naze32 Flight Controller
2.OpenPilot CC3D Flight Controller
3.EagleTree Vector Flight Controller
4.Hobbyking KK2.1 Flight Controller
5.ArduPilot Mega APM 2.5Flight Controller
But i chosed Arduino Uno because it cheap and easy availabe in market.
Arduino uno work on Atmega328p microcontroller which is 8 bit microcontroller have enough processing speed and Clock Speed 16 MHz, Can provide 8-bit PWM output with the analogWrite() function.
About Transmitter and Receiver
For my quadcopter I used FlySky CT6B 2.4Ghz 6CH Transmitter with FS-R6B Receiver is the popular 6 Channel Radio CT6B manufactured by FlySky.CT6B FLYSKY 2.4GHZ 6CH TRANSMITTER radio is a value for money, entry level 6 channel transmitter, ideal for quadcopters and multicopters that require the 6ch operation.CT6B FLYSKY 2.4GHZ 6CH TRANSMITTER is an entry-level 2.4 GHz radio system offering the reliability of 2.4 GHz signal technology and a receiver with 6 channels. It can be powered by 8 x AA Size Batteries or a 12V Power Supply. It comes with a trainer port to help beginners learn flying.It can be configured by connecting it to the computer. Use the T6config software to configure your radio on a computer.
 |
About Electronic Speed Controller
I used 30A BLDC ESC ELECTRONIC SPEED CONTROLLER can drive motors which consume up to 30A current. It works on 2S-3S LiPo batteries. It has an onboard BEC which provides regulated 5V(2A max draw) to power the flight controller and other onboard modules. It can be used to control our brushless motors with a 2S-3S LiPo (make sure motor doesn’t draw more than 30A).30A BLDC ESC Electronic Speed Controller is specifically made for quadcopters and multi-rotors and provides faster and better motor speed control giving better flight performance compared to other available ESCs.


How to configure your Quadcopter
Step1 Download and compile setup code.

Step2 Download and compile ESC calibration code.
Step3 Finally download and compile Flight code.
How to control your quadcopter
Controlling a quadcopter is alway risky make sure all four propellers are tightly screwed .Don't try this at home.For Arming the quadcopter put throttle down and put yaw left now slowly move the throttlr up. For Disarming the quadcopter put the throttle down and put the yaw right.

 |
| via research gate |
Varnit Goswami-https://www.linkedin.com/in/varnit-goswami-294190173/
Media Gallary


Find the best essays on is my friend's profile page. bybit
ReplyDelete