
Securing The Future Bit By Bit

Showing posts with label Raspberry Pi. Show all posts

Tuesday, July 23, 2019

Servo motor interfacing with Raspberry pi 3

In this blog,I will explain you how to interface servo motor with Raspberry pi 3.


This project uses Python scripts run on a Raspberry Pi microcontroller to send GPIO PWM outputs to a servo motor to set its angle. If all that sounds confusing, don't worry, I'm about to explain it.

Components Required

1. Raspberry pi 3
2. Servo motor
3. Jumper wires

Circuit Diagram


Connections

Raspberry pi-----------------------------Servo motor
  VCC(pin2)-------------------------------Servo red wire
  GND(pin39)-----------------------------Servo black wire
  GPIO4(pin7)----------------------------Servo orange wire

A servo motor is a type of DC motor that, upon receiving a signal of a certain frequency, can rotate itself to any angle from 0-180 degrees. Its 90 degree position is generally referred to as 'neutral' position, because it can rotate equally in either direction from that point.

Procedure

Step1- Make connection as shown in above figure.
Step2- connect red wire of servo to pin2 of raspberry pi and black wire of servo to                    pin39 of raspberry pi and orange wire of servo to pin 7 of raspberry pi.
Step3- Download the code from given link.
Step4- Open the downloaded file in python software.
Step5- If you want change the GPIO pin just edit it with your own GPIO pin.
Step6- Run the program anf you will see servo start moving.

 Download the code from here

Media Gallary


Share:

Monday, July 22, 2019

Raspberry pi with DHT11 sensor step by step full tutorial.

In this blog, I will explain you how to connect raspberry pi with dht11 sensor and measure the temperature and humidity readings. 

Components Required

1. Raspberry Pi 3
2. DHT11 sesnor
3. Breadboard
4. Jumper wires

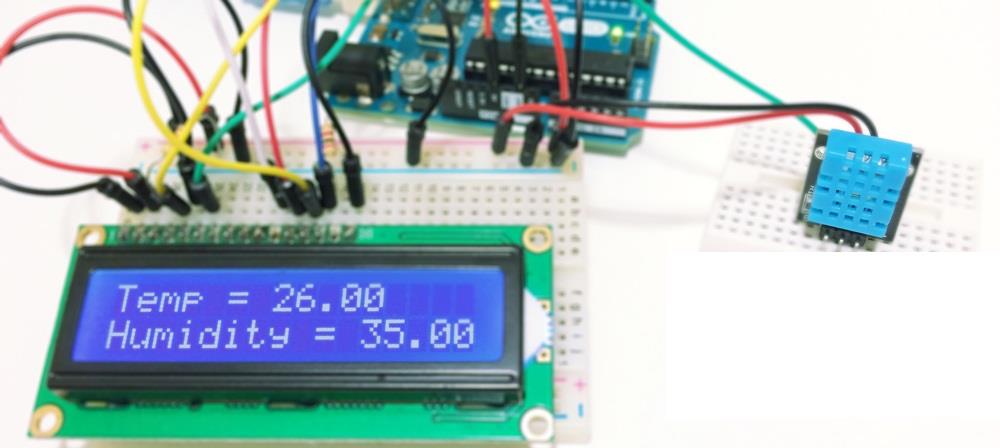
Circuit Diagram

Step1- Make a connection as shown in above figure.
Step2- Connect DHT VCC pin to pin1 of raspberry pi and GND pin of DHT to pin39 of raspberry pi              and connect data pin of DHT to pin7 of raspberry pi.
Step3- Download the DHT11 code from given link.
Step4- Folder contain two python files one is code and another act as library. Both files must be in                  same folder.

Download Code


Media Gallary

Share:

Blink Led using Raspberry pi 3 with Python script.

In this blog, I will explain how to blink a led using raspberry pi 3 with python code.


Components Required
1. Raspberry pi 3
2. Led
3. jumper wires
4. Breadboard
5. 220 ohm Resistor

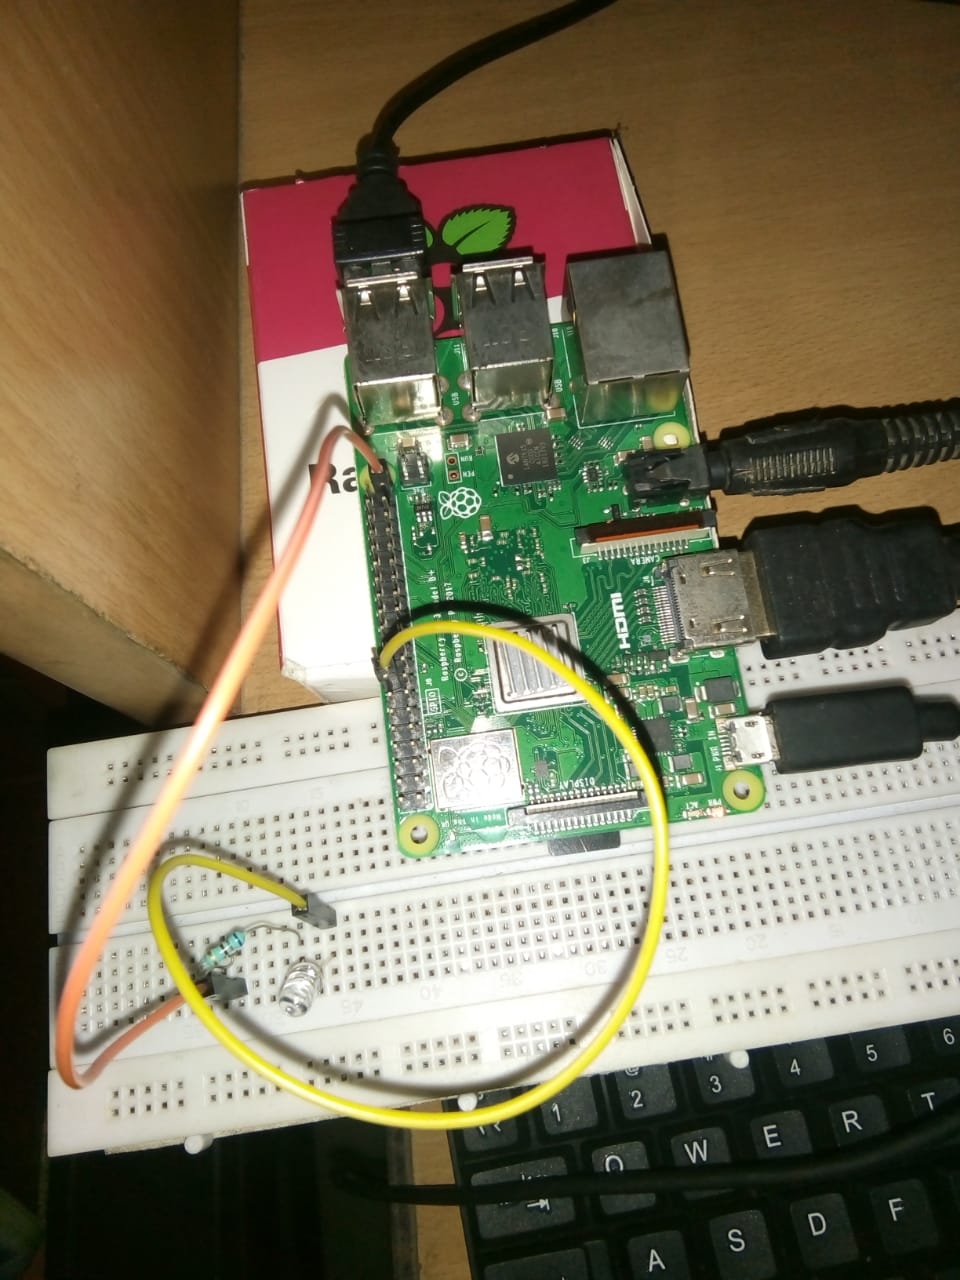
Circuit Diagram

Step1- Make connection as shown in above figure.
Step2- Connect led +ve pin to 7 pin of raspberry pi and -ve pin of led to 39 pin of raspberry pi.
Step3- Resistor must be connected otherwise led will fused.
Step4- Download the code and upload the raspberry pi.
via element14.com

Program Code

import RPi.GPIO as GPIO
import time
GPIO.setmode(GPIO.BOARD)
GPIO.setup(7,GPIO.OUT)

i = 1
while(i<=5):
    GPIO.output(7,True)
    time.sleep(1)
    GPIO.output(7,False)
    time.sleep(1)
    i = i + 1
GPIO.cleanup()


Download code file from here

Media Gallary


Share:

ElectrocoreDIY.com

Search This Blog

Blog Archive

Powered by Blogger.

Privacy Policy